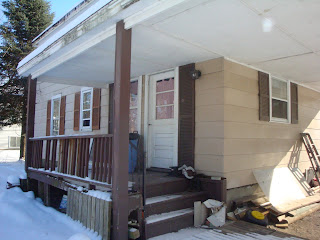
Before:


 Sinks from Home Depot:

 Zach measuring the drywall:
 Making sure the drywall is level:

 Blue won on the poll we posted on here so we tried it out. We are not SURE about the color but we will keep it for a while until it drives us crazy or we get used to it. We still have more to do such as lighting. moulding and baseboards but the major stuff (vanities, plumbing, electrical, floor, walls) are done..... :)
 I have to say that I love my husband's ability to visualize design. Take a look at this, what do you see?
 Zach saw a dark stained, wood paneled wall. Using a chop saw and two different size beams (a square beam and a 2x4) we cut slices of each, allowing the depth of each to vary. Using thin set, Zach applied the wood slices to the wall as though they were tile. Below is a close up photo of the finished product:
 After sanding the edges of each piece we either stained them (using Minwax's "English Chestnut") or applied them to the wall then stained them using a spray bottle. We don't recommend the spray bottle technique as it quickly makes its way to the floor and surrounding walls.
 To finish the look we applied a border (made out of 2x4's) around the perimeter of the "wood wall". We used a chop saw to cut the complimentary angles - yay trigonometry!


